
Handling Bright Midday Sun During Outdoor Portrait Sessions
Australia delivers some of the strongest sunlight on the planet, and a December portrait booking in Sydney or a summer shoot in Brisbane throws you straight into UV-index-12 territory. Harsh overhead light carves unflattering shadows under the eyes, nose, and chin, and forces subjects to squint the moment they face the camera. Working through the worst of it is part of the job, though, because couples tying the knot at a clifftop Barossa vineyard or a garden wedding in Melbourne rarely want to delay the ceremony for softer light.
Harsh midday sun can be tamed with the right approach, the right timing, and a few practical tricks. These techniques are especially useful for outdoor portrait sessions, where natural conditions shift by the minute and the studio cannot be moved.
Seek Out Open Shade and Architectural Cover
Open shade is the photographer's best friend when the sun is sitting high and angry. Look for the soft, even light under large eucalypts in a local park, beneath the verandah of a Queenslander in Paddington, or along the shaded side of a sandstone building in The Rocks. The light in these pockets is typically a few stops cooler than direct sun, which means the camera records skin tones with a flattering warmth and the subject relaxes instead of squinting.
A portable 5-in-1 reflector in the kit bag helps as well. Position it opposite the direction of the light to bounce a gentle fill back into the shadow side of the face, balancing the exposure and removing the dark hollows that overhead sun tends to carve out. In humid coastal NSW in January, even a small breath of breeze can shift the dappled light filtering through foliage, so watch changing patterns and reposition quickly when needed.
Reposition Subjects Relative to the Sun
Turning the subject away from direct light and shooting into the back of their head produces a beautiful rim of light around the hair and shoulders, while the face sits in soft, even shadow. This backlight approach is a reliable way to make midday work in your favour, and it is especially effective near reflective surfaces like the harbour at Watsons Bay or pale sandstone walls around Adelaide.
If backlight does not suit the mood of the session, position the subject so the sun falls at a 45-degree angle to one shoulder. This preserves a sense of dimension in the face while preventing the raccoon-eye effect of overhead light. Always watch where the shadow of the nose falls: a short shadow that points slightly downward usually signals a flattering angle, while a long, sharp shadow under the brow is a sign to rotate the subject or find cover.
Lean Into Flare, Haze, and Atmospheric Mood
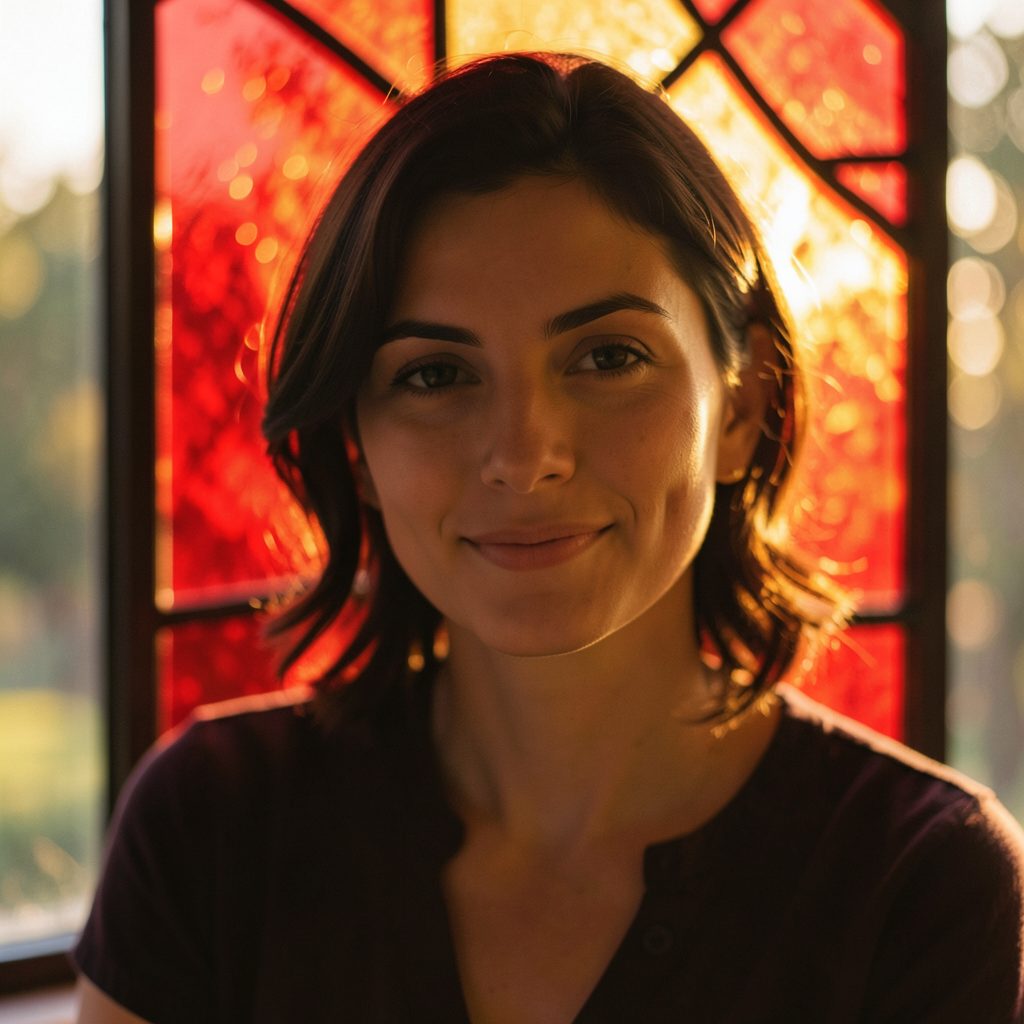
Midday light can become a creative asset rather than a problem. Shooting towards the sun with a wide aperture and a clean front element produces a soft, dreamy flare that suits engagement sessions, maternity shoots, and bohemian weddings along the Mornington Peninsula. A slight underexposure of around two-thirds of a stop keeps skin tones rich and prevents highlights from clipping when the sun sits in the frame.
Haze also works in your favour in regional Australia, where summer northerlies can carry a soft golden softness across wide open landscapes. For inspiration on how other creative teams handle atmospheric conditions, their recent projects offer a useful perspective on working with haze and contrast. A gentle haze reduces overall contrast, softens the background, and creates a more cinematic feel than the crisp, hard light of a clear blue-sky day.
Keep Subjects Cool and Camera-Ready
Australian summer days climb past 38°C in many inland regions, and subjects who are overheating will look uncomfortable in every frame. Schedule short breaks in the shade every fifteen minutes, keep cool water on hand, and offer a small towel for dabbing the forehead. A wide-brim hat is helpful between shots, but remove it for a moment before each click so the brim does not leave a strange shadow line across the brow.
Sun protection is non-negotiable. Most Australian couples will already be wearing SPF 50 and a pair of stylish sunnies, and a quick discussion at the start of the session about where glasses, hats, and sunscreen can be stashed between frames keeps everything moving. Clear communication prevents the awkward moment when a hat comes off mid-shot and a band of dark shadow appears across the face.
Harsh light also creates a contrast range that can exceed what a sensor can comfortably record, especially with bright sandstone, pale concrete, or sun-bleached grass. Meter for the highlights to keep skin from washing out, then use a fast prime or a mid-range zoom stopped down to f/4 or f/5.6 to keep both eyes in acceptable focus. At a Cottesloe beach session, dropping the ISO and using a higher shutter speed helps avoid the blown-out look that ruins otherwise beautiful moments.
Field Reference for Taming Midday Sun
Quick gear list:
- A 5-in-1 reflector in 80cm or 100cm size for filling shadows and creating soft wraparound light
- A small collapsible diffuser for stationary subjects like family groups or expecting parents
- A clean microfibre cloth and a rocket blower for keeping the front element clear of dust and sea spray
- A wide-brimmed hat or styled umbrella for subject comfort between setups
- A handheld fill flash set to -1.3 EV for a subtle catchlight without flattening the scene
Posing choices that soften the light:
- Angle the body at roughly 45 degrees to the sun, with the face turned slightly back toward the camera
- Tilt the chin down a fraction to reduce shadow under the nose and add jawline definition
- Use shoulders as a natural flag, letting them block direct light from the eyes
- Place taller subjects at the back of group compositions to minimise shadow on shorter faces
- For movement shots, run the activity with the sun behind the subject to keep faces evenly lit
The single most useful habit to build is a quick five-minute scout of the location in the week before the shoot. Walk the venue at the same time of day as the booking, note where the shade will fall, and shoot a few test frames on a phone to confirm the direction of the light. This small step removes almost all the guesswork on the day, frees you to focus on the people in front of the camera, and leaves a clear plan B if the conditions shift.